Checklist Before Installing a Small Wind Turbine
Skipping prep work on a small wind turbine is how a 12,000 USD project quietly becomes a 25,000 USD one. The checklist below walks you through five short phases, from confirming your…

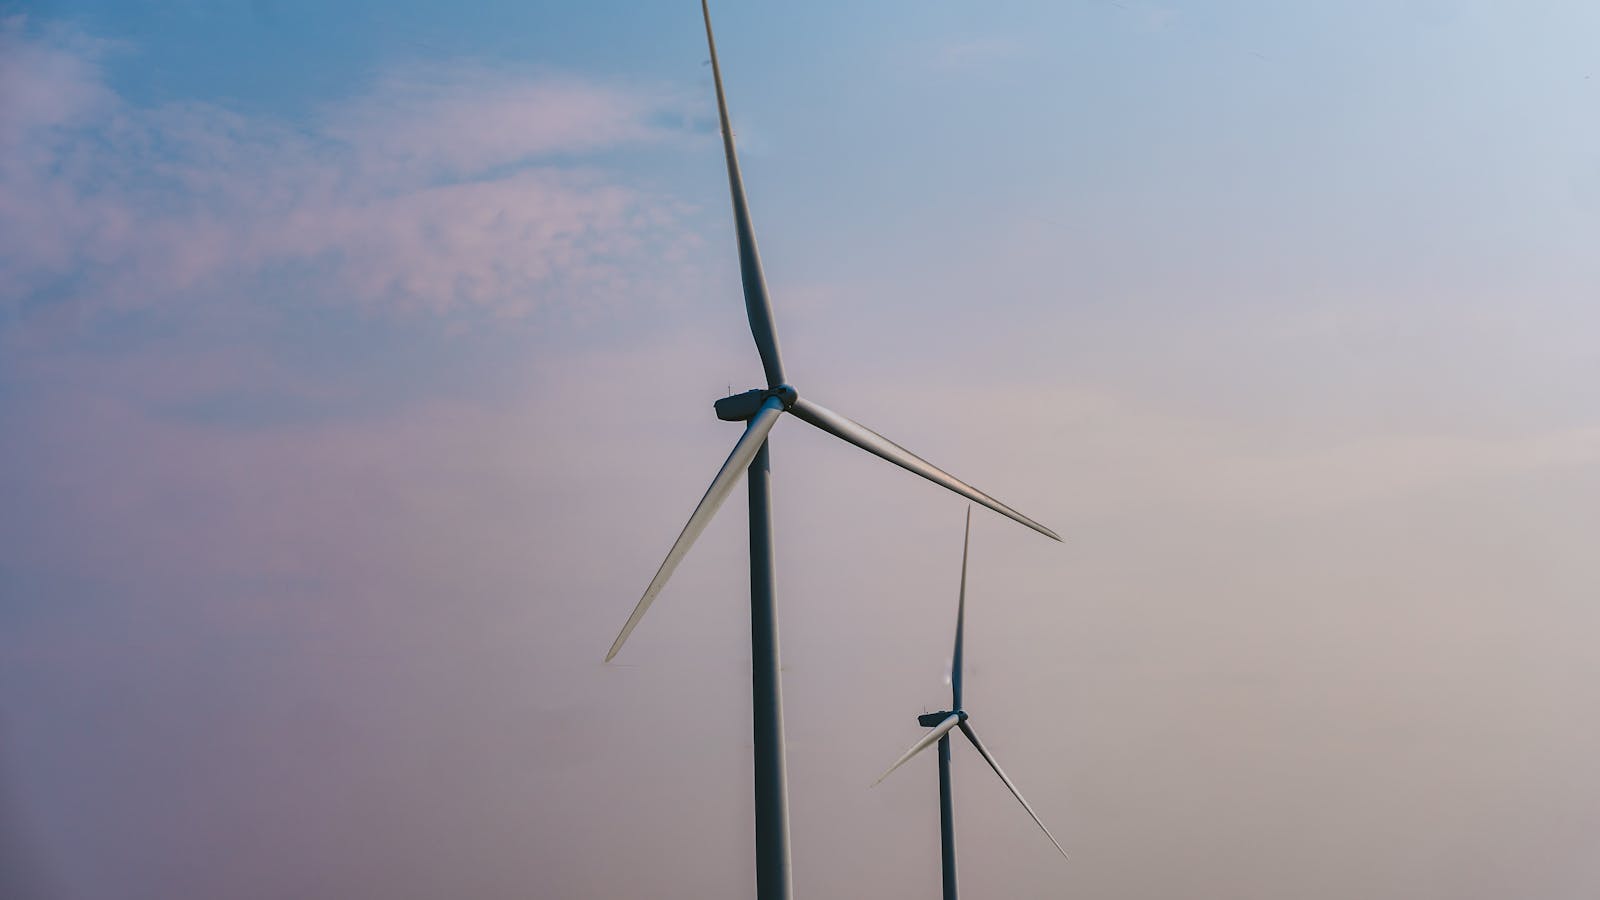
Skipping prep work on a small wind turbine is how a 12,000 USD project quietly becomes a 25,000 USD one. The checklist below walks you through five short phases, from confirming your site actually has wind to verifying the machine spins safely on day one. Each step is small, ordered, and designed to keep you out of the expensive corners most first-time owners trip into.
A small wind turbine looks straightforward from the outside. A pole, a rotor, an inverter, a meter. The reality is that wind is much pickier than sunlight. Two houses on the same street can have wildly different production because of a tree line, a roof angle, or a hill 200 metres away. The cost of skipping site work and paperwork is rarely a small surprise. It is a tower that produces 40 percent below the brochure, or a permit denial after the foundation is poured, or an installer who disappears the month after warranty starts.
The five phases below are the ones I walk every reader through before they put down a deposit. Each phase has a short explainer and a tight list of items to tick off. Work them in order. The early phases are cheap and slow, the later ones are expensive and fast, and that is exactly why the order matters.
Phase 1: Site qualification
Wind turbines need wind, and not just any wind. They need clean, steady wind moving above a minimum average speed across an entire year. The rule of thumb most installers use is an annual average of at least 4.5 to 5 metres per second at hub height. Below that, you will produce so little that the payback period stretches past the lifespan of the equipment. Above 6 m/s, the economics become genuinely attractive.
Before you book a single sales call, work through the physical realities of your lot. None of these items requires an installer to verify, and getting them wrong privately is far cheaper than getting them wrong publicly.
- Pull local wind data. The NREL WIND Toolkit and your country’s equivalent meteorological dataset give annual average wind speeds at 30, 60, and 100 metre heights for almost any address.
- Measure your lot. Most residential turbines need at least 0.4 to 1 hectare (1 to 2.5 acres) of clear land. Smaller plots usually fall foul of setback rules in Phase 2.
- Apply the 30-foot rule. The rotor should sit at least 30 feet (about 9 metres) above anything within a 500-foot (150-metre) radius. Trees, barns, ridgelines, neighbouring roofs all count.
- Walk the prevailing wind path. Stand where the tower would go on a windy day. If you feel gusts hitting you from three directions, your site is turbulent, and turbulent wind eats turbine lifespans.
- Note terrain features. Hilltops accelerate wind. Valleys and the lee sides of buildings stall it. A site that looks open on a map can still sit in someone else’s wind shadow.
- Consider a six-month anemometer study. A small data logger on a temporary 10 to 20 metre mast costs roughly 800 to 2,500 USD and is the single best insurance you can buy before committing.
If any of this feels like new territory, my overview on small wind turbines explained for homeowners walks through the basic physics and equipment classes. The siting question deserves its own deeper read, and choosing the right spot for a turbine on your property covers the trade-offs between hub height, foundation cost, and terrain.
Phase 2: Permitting and zoning
This is the phase that turns excited buyers into frustrated ones. Even on a perfect site, your local zoning code can block a turbine entirely, or limit it to a height that makes the project pointless. The rule is to confirm permission in writing before any other money moves.
Three layers of permission usually apply, and each one has its own timeline.
- Local zoning code. Call the planning office and ask specifically for the small wind energy systems ordinance. Many municipalities cap total height at 35 to 80 feet, which is below the productive range for most turbines.
- Setbacks. Common rules require the tower to sit at least 1.1 to 1.5 times its total height away from every property line, road, and overhead power line. A 100-foot tower can therefore need 110 to 150 feet of clear distance in every direction.
- HOA covenants. If you live in a homeowners association, read the architectural standards twice. Some HOAs ban turbines outright; others allow them but require a height variance, neighbour notification, or specific colour and noise specifications.
- Aviation review. Towers over 200 feet, and shorter ones near airports, may require an FAA Form 7460-1 filing in the US, or the equivalent in your country.
- Utility interconnection agreement. If you plan to sell back surplus power, the utility’s small generator interconnection process can take 60 to 180 days. Start it early.
- Building and electrical permits. Treat the foundation and electrical work like any other major structure. Expect 200 to 1,500 USD in permit fees depending on jurisdiction.
Get every approval in writing, dated and signed, before you sign a turbine contract. A verbal yes from a zoning officer who later changes role is not a defensible position when an inspector visits.
Phase 3: Financing and incentives
Once you know the site works and the paperwork is achievable, you can put a real budget together. Small residential turbines, fully installed, typically run 15,000 to 75,000 USD in 2025 and 2026, depending on rotor size, tower height, and foundation type. A 5 kW turbine on a 100-foot lattice tower with concrete footings sits roughly in the middle of that range.
Incentives change every year and vary by country, state, and utility. Map them all before you commit. The order I recommend:
- Federal tax credits. In the US, the Residential Clean Energy Credit currently covers 30 percent of the installed cost for small wind through at least 2032. Confirm the current rate when you file.
- State and provincial rebates. Use the DSIRE database in the US, or your national energy agency, to list every active programme.
- Net metering or feed-in tariff terms. Read the utility tariff line by line. Some pay retail rates for exported kWh, others pay wholesale or nothing at all.
- Agricultural grants. Rural property owners in many countries qualify for grants such as the USDA REAP programme, which can fund 25 to 50 percent of project cost.
- Loan options. Specialty green loans typically run 6 to 9 percent APR. Home equity lines are often cheaper but carry their own risks.
Wind is also rarely a standalone project. Most rural owners pair a turbine with batteries, a backup generator, or a solar array to cover calm weeks. If you are sizing the whole system at once, my guide to budgeting for a home backup energy system shows how the costs interact so you do not double-buy capacity.
Phase 4: Installer due diligence
Wind turbines spin at the top of a tall pole for 20 years. The installer who puts that pole in the ground matters more than the brand stamped on the rotor. A bad installation does not announce itself on day one. It shows up three winters later as a cracked foundation, a loose guy wire, or a yaw bearing that was greased once and never again.
Three quotes is the minimum. Ideally, one of those three is a regional specialist who has installed at least 20 turbines of the size you are considering. Avoid generalist solar installers who add a turbine line to their brochure without dedicated wind experience.
- NABCEP or equivalent certification. In North America, look for the NABCEP Small Wind Installer credential. In the UK, MCS certification. In Australia, CEC accreditation.
- Manufacturer training. Ask which turbine brands the installer is factory-certified to install and service. Off-brand installations void most warranties.
- Insurance and bonding. Request current certificates for general liability (at least 1 million USD) and workers’ compensation. Verify them directly with the insurer.
- Reference list. Ask for three customer references whose turbines have been running for at least three years. Call all three.
- Permitting role. Confirm in writing that the installer pulls permits in their name, not yours. This matters when an inspection fails.
- Service contract. Annual inspections cost 250 to 600 USD and should be quoted upfront, not invented after the install.
Phase 5: Commissioning day
The crane arrives, the tower goes up, the rotor is bolted on. This is the day to be present, calm, and slightly nosy. The installer should walk you through every test. If they want to leave before you have signed off, slow them down.
- Annual wind speed at hub height confirmed at 5 m/s or higher
- All permits, HOA approvals, and utility interconnection agreement in hand and in writing
- Cash and financed price compared side by side, with incentives confirmed
- Installer credentials, insurance, and three multi-year references verified
- Service contract and warranty terms signed before commissioning starts
On commissioning day itself, verify the following before the installer’s truck leaves your driveway:
- Tower plumb check. A laser level or transit reading should confirm the tower is vertical within the manufacturer’s tolerance, typically less than 0.5 degrees of tilt.
- Guy wire tension. If you have a guyed tower, each wire should be tensioned to the manufacturer’s spec, usually 10 to 20 percent of breaking strength.
- Cut-in wind speed test. Watch the turbine start producing power. Most small turbines cut in at 2.5 to 3.5 m/s.
- Furling or pitch control test. If wind is strong enough, watch the turbine furl or pitch its blades in high wind. This is the safety system you are betting your roof on.
- Disconnect switch operation. Open and close the main disconnect with the installer present. Confirm the turbine stops safely.
- Monitoring app live. Production data should be visible on your phone or laptop before the installer leaves. Bookmark it.
- Document handover. Receive a paper or PDF folder with the as-built electrical schematic, foundation drawings, warranty cards, and a serial-number list.
The first 90 days after commissioning are the second-most-important window of the project. Watch the production app daily for the first month, weekly for the next two. Compare actual output to the proposal estimate, allowing for seasonal variation. If you are seeing more than a 15 percent shortfall after a full quarter, request a written performance review from the installer. Most early-life issues resolve at no cost when they are flagged early and ignored entirely when they are not.
Worked in order, these five phases turn a complicated, high-stakes purchase into a series of small, finishable steps. You do not need to memorise every threshold on this page. The important part is knowing which phase you are currently working through and what the next step on the list actually is. That alone keeps you ahead of nearly every first-time wind owner I have met.
Frequently asked questions
How long does the full pre-install process take?
Plan for six to twelve months from first research to a spinning turbine. A six-month anemometer study is the longest single item, and it can run in parallel with permitting. Zoning and utility interconnection typically add three to six months on their own. Installer scheduling adds another four to eight weeks. Rushing usually shows up as a permit rework or an undersized foundation, both of which cost more than the time they save.
Is a wind turbine worth it on a small suburban lot?
Usually not. Lots smaller than about half a hectare almost always fail the setback math, and suburban tree cover and roofs create turbulent, slow wind. The honest answer for most suburban readers is that rooftop solar will outperform a small wind turbine on the same budget. Wind tends to pay off on rural lots of 1 hectare or more with steady prevailing winds and no upwind obstructions.
Can I install a small wind turbine myself to save money?
Most micro turbines under 1 kW can be owner-installed if you are comfortable with concrete work and high-voltage wiring. Anything larger usually requires a crane, certified electrical work, and signed engineering drawings for the foundation. DIY installation also voids most manufacturer warranties and complicates insurance. The labour saving rarely justifies the risk on a 15,000 to 75,000 USD asset that lives 20 metres in the air.
What is the most common reason small wind projects underperform?
Tower height. Wind speed increases sharply with elevation, especially in the first 30 metres above ground. A 60-foot tower on a tree-lined lot can produce half what an 100-foot tower on the same lot would deliver. Many homeowners economise on tower height to save 3,000 to 8,000 USD and lose far more than that in lifetime production. Build as tall as your zoning code and budget allow.
How noisy is a residential wind turbine?
A well-maintained modern turbine produces 40 to 55 decibels at a distance of 100 feet, roughly the level of a quiet refrigerator. Older or poorly maintained machines can climb above 65 decibels and generate complaints. Ask the manufacturer for sound power curves at multiple wind speeds, and request a noise study if your nearest neighbour is closer than 200 feet. Setback rules in many areas already account for this.
What ongoing maintenance does a small turbine need?
Plan on an annual professional inspection covering bolt torque, guy wire tension, bearing condition, and electrical connections. Budget 250 to 600 USD per visit. Every five to ten years, expect to replace or refurbish components such as brake pads, slip rings, or yaw bearings, at a cost of 500 to 2,500 USD. Blade replacement is rare but expensive when it happens. A clear service contract signed at commissioning prevents most surprise bills.
Read next in Wind & Alternative Energy
If this guide was useful, these two neighbouring pieces will fill in the surrounding context:
Sources and further reading
For the underlying data behind the numbers in this guide, and for the standards, incentive programs, and safety rules referenced throughout, see:
Related guides

Five Myths About Residential Wind Power
Residential wind power has a marketing problem. The image of a tidy little turbine spinning beside the garage and zeroing out the electric bill is appealing, but it rarely matches the physics…
Five Mistakes People Make With Alternative Energy
Alternative energy is exciting until the wrong assumption shows up on your power meter. I have watched homeowners spend thousands on a small wind turbine that produces almost nothing, or chain together…
Budgeting for a Home Backup Energy System
A reader in Vermont emailed me after a four-day outage and asked, simply, "How much do I need to set aside to never feel that helpless again?" The honest answer is anywhere…