Step by Step: Setting Up a Balcony Solar Kit
A balcony solar kit is one of the friendliest ways to dip a toe into home solar. You get a small panel, a tiny inverter, and a plug that goes into a…

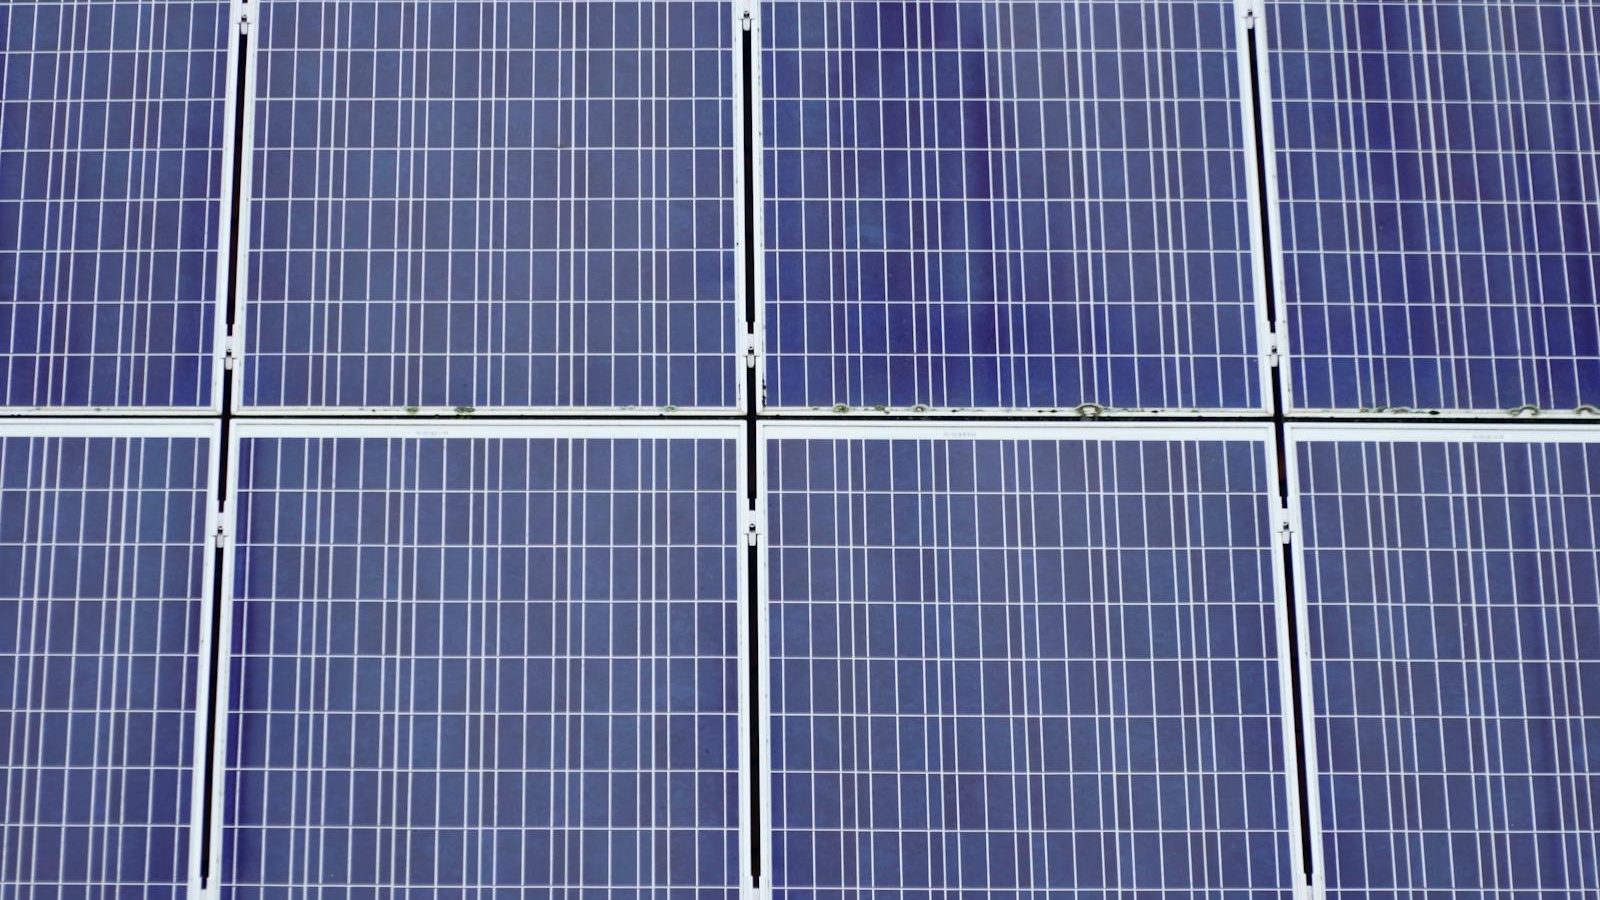
A balcony solar kit is one of the friendliest ways to dip a toe into home solar. You get a small panel, a tiny inverter, and a plug that goes into a regular outlet. In this guide I walk through the exact steps I use when I help a reader set theirs up for the first time, with safety checks woven in.
If you have been curious about solar but a rooftop system feels like a big leap, a balcony kit is a wonderful middle ground. You buy a panel or two, clip them to your railing, and plug the inverter into an outdoor outlet. The panels feed a small amount of electricity back into your home circuit, which lowers the amount your meter pulls from the grid during daylight hours. It is calm, quiet, and surprisingly satisfying once it is running.
I had a reader email me last fall asking if she needed an electrician for her first kit. She lived in a third floor apartment, had never touched a solar component, and was worried she would do something dangerous. We walked through it together over a weekend, and by Sunday afternoon her phone app was showing about 180 watts of generation in soft autumn light. That conversation is the spine of this tutorial. If you would like a refresher on how panels actually produce electricity before you start, my beginner explainer on solar panels covers the basics in plain language.
What you will need
Most balcony kits arrive in one box with everything you need, but it helps to lay the parts out and confirm nothing is missing before you start. Here is the gear list and why each piece matters.
- One or two solar panels rated between 300 and 450 watts each. These are the workhorses that convert sunlight into direct current electricity.
- A microinverter matched to the panel wattage. The inverter turns the direct current from the panel into alternating current that your home outlets can use.
- Mounting hardware such as railing brackets, bolts, and rubber pads. Good brackets keep the panel snug against your balcony rail without scratching the metal.
- A weatherproof outdoor cable with a Schuko or country specific plug on one end. This is what connects the inverter to your wall outlet.
- A grounding wire if your local code requires one. Check your kit instructions and any building rules before skipping this.
- Basic tools: a 10mm and 13mm wrench, a Phillips screwdriver, a small spirit level, and a soft cloth.
- Optional but lovely: a clamp meter or smart plug that reports watts, so you can watch the output in real time.
If you are still deciding between this style of kit and something larger, my comparison of portable solar kits and rooftop systems walks through the trade offs in detail.
Step 1: Plan and check your balcony
Before any hardware comes out, spend twenty minutes thinking about where the panel will live and what rules you need to follow. This step prevents almost every regret I hear about later.
- Find your sunniest balcony spot. Stand outside at three different times during the day and note where the sun actually hits. South facing is ideal in the northern hemisphere, but east or west still works.
- Measure the railing. Most brackets fit rails between 25mm and 50mm in diameter or width. Use a tape measure and write the number down.
- Confirm the panel weight your railing can hold. A typical 400 watt panel weighs around 20 kilograms. If your balcony is older or the rail feels wobbly, ask your building manager before mounting.
- Check the rules. Many countries now allow small plug in solar setups up to 800 watts without an electrician, but your building or homeowner association may have its own guidelines. A quick email saves a tense conversation later.
- Locate the nearest outdoor outlet. The shorter the cable run, the cleaner the install. If the outlet is indoors only, plan a safe path for the cable through a window seal or door gap.
I always sketch the layout on paper before drilling or clamping anything. Five minutes with a pencil saves real money in mistakes.
Step 2: Mount the panel safely
Once you have a plan, mounting goes quickly. The trick is taking your time and double checking each bolt as you go.
- Lay the panel face down on a soft surface like a blanket. Never set it on bare concrete because tiny scratches can become hot spots over time.
- Attach the railing brackets to the back of the panel using the bolts that came with your kit. Hand tighten first, then snug them down with the wrench. Firm but not aggressive is the goal.
- With a helper if possible, lift the panel and hook the brackets over your balcony rail. Adjust the tilt angle to roughly match your latitude. For most of central Europe and the northern United States, 30 to 40 degrees works well.
- Tighten the clamp bolts evenly, alternating sides like you would with a car wheel. Use the spirit level to make sure the panel is not crooked.
- Add a safety tether. I always run a thin steel cable from one corner of the panel frame to a secure point on the balcony, like a railing post. This catches the panel if a clamp ever loosens.
- Walk around and gently shake the rail. The panel should not wiggle. If it does, retighten and check again.
Wind matters more than people expect. A 400 watt panel acts like a sail in a strong gust, so do not skip the tether step even if it feels overkill.
Step 3: Connect the inverter and plug in
This is the part that feels intimidating, but the connectors are designed so you cannot easily get them wrong. Each cable has a male and female end that only fits one way.
- Mount the inverter on the back of the panel frame using the supplied clip or zip ties. Keep it shaded and ventilated, never trapped against the panel itself.
- Plug the panel cables into the matching inverter inputs. You will hear a small click when they seat properly. Tug gently to confirm.
- If your kit needs grounding, attach the green or yellow ground wire to the marked terminal on the inverter and the other end to your balcony rail or a dedicated ground point.
- Route the AC output cable along the balcony to your outlet. Use cable clips so it does not dangle or rub against sharp edges.
- Before plugging in, look at the sky. Do this on a sunny moment so the inverter has power to wake up cleanly. Plug the AC connector into your weatherproof outlet.
- Wait. Most microinverters take 60 to 90 seconds to synchronize with your home grid before they begin pushing power. A small LED usually blinks during this handshake.
If you would like to understand the inverter side better before you buy, my piece on choosing the right solar inverter without overpaying goes deeper.
Step 4: Verify everything works
The reader I mentioned earlier almost convinced herself the kit was broken because she expected an instant 400 watt reading. Real output depends on sun angle, weather, and time of day, so verification is about confirming the system is alive, not chasing a peak number.
- Check the inverter LED. A steady green or slow blink usually means it is producing power. A fast blink or red light points to a problem, and the manual will explain the code.
- Open the kit app on your phone if one came with your inverter. Most modern microinverters report watts and total energy over Wi Fi or Bluetooth.
- If you do not have an app, plug a smart energy meter between the inverter and the outlet. You should see a positive watt reading during daylight.
- Cover the panel briefly with a thick towel. Generation should drop close to zero within a minute. Uncover it and the number should climb back up. This proves the panel and inverter are talking to each other.
- Note the time and the wattage. Doing this on day one gives you a baseline to compare against next month.
- Brackets snug and panel does not wobble
- Safety tether attached to a fixed point
- Inverter shaded and ventilated
- AC cable routed away from sharp edges
- Outdoor outlet is weatherproof and grounded
Step 5: Routine you will keep up
A balcony kit is close to fit and forget, but a small habit each season keeps it producing well for many years.
- Once a month, glance at the panel from indoors. Look for leaves, bird droppings, or pollen film. Wipe gently with a soft cloth and water if needed, never with harsh cleaners.
- Every spring and autumn, check the bracket bolts with your wrench. Temperature swings can loosen them over time. A quarter turn is usually enough.
- Inspect the cable where it bends most often. Sun exposure slowly degrades plastic, and a cracked cable should be replaced rather than taped.
- Review your app or smart meter data once a season. If your typical sunny day output drops noticeably and the panel is clean, contact your supplier. Inverters can age, and most are covered by long warranties.
- Keep the original box and paperwork in a dry drawer. If you ever move or need warranty support, you will be glad you did.
That is the whole rhythm. A weekend of careful setup, then a few minutes of attention each season. For a small system like this, the payoff is more about the calm satisfaction of watching your meter slow down on a sunny afternoon than about huge savings, but the savings do add up over the years. Take it slow, follow the safety checks, and enjoy the process.
Frequently asked questions
Do I need an electrician to install a balcony solar kit?
In many countries, plug in balcony kits up to 800 watts are designed to be installed by the owner without an electrician, as long as you use a proper outdoor outlet and follow the kit instructions. Always check your local rules and your building or association guidelines first. If anything in the setup feels uncertain, a brief consultation with a licensed electrician is money well spent and brings real peace of mind.
How much can a balcony solar kit actually save me?
A single 400 watt panel in a sunny spot typically produces around 300 to 450 kilowatt hours per year, which translates to roughly 60 to 130 euros or dollars saved on electricity, depending on your local rates. Two panels roughly double that. The savings build slowly and steadily over a system lifespan of fifteen to twenty years, so think of it as a long quiet contribution rather than a quick financial win.
What happens during a power outage with a balcony kit?
Standard plug in balcony inverters are grid tied, which means they shut off automatically when your home loses grid power. This is a safety feature that protects line workers from accidental backfeed. If you want backup power during outages, you would need a different kind of system with a battery and a transfer switch, which is a much larger project and well beyond the scope of a typical balcony kit.
Can I add more panels to my kit later?
Often yes, but it depends on the inverter capacity and your local rules on total wattage. Some microinverters accept two panels out of the box, and many regions allow up to 800 watts of plug in solar without registration. If you want to expand beyond that, you typically move into a system that needs paperwork and possibly an electrician. Check your inverter datasheet before buying a second panel.
Will my balcony solar kit work in cloudy weather?
Yes, just at lower output. On a fully overcast day a 400 watt panel might produce 30 to 80 watts instead of 300 or more. Snow, fog, and heavy rain reduce output further. The panels still contribute throughout the year, and modern microinverters are designed to harvest energy efficiently even at low light levels, so a cloudy week is not a wasted week, just a quieter one.
Read next in Solar Basics
If this guide was useful, these two neighbouring pieces will fill in the surrounding context:
Sources and further reading
For the underlying data behind the numbers in this guide, and for the standards, incentive programs, and safety rules referenced throughout, see:
Related guides
An Honest Solar Payback Budget Guide for First-Timers
A woman at one of my old workshops in Eugene asked me, half embarrassed, how many years until solar "pays itself off." I told her the honest answer is that it depends…
How Rooftop Solar Actually Works (Without the Jargon)
A homeowner I worked with last spring stood on her driveway, looked up at her roof, and asked me the question almost everyone secretly wants to ask: "So, how does this stuff…
What to Do When Your Solar Output Drops in Winter
The first winter with solar can be unsettling. Daily numbers shrink, your monitoring app shows long flat stretches, and it is easy to wonder if something broke. Most of the time, nothing…